At the end my model has 1236 polygons. I am pretty glad with how it turned out. I think I did a decent job on the legs while head and the hand were the biggest problem for me. I textured the model partially in mudbox and exported channels to psd and finished it in Photoshop.
Friday, 27 March 2015
Thursday, 26 March 2015
MainCharacter
Managed to successfully texture our main character. Works in unity as well ! Now we need to work on the sounds and fix the scripts.
MENU + boss
Last few days I worked on our open water scene and last texturing. This is how it looks now:
Textured box and whale in unity :
I also created a menu.
Textured box and whale in unity :
I also created a menu.
Lava creature
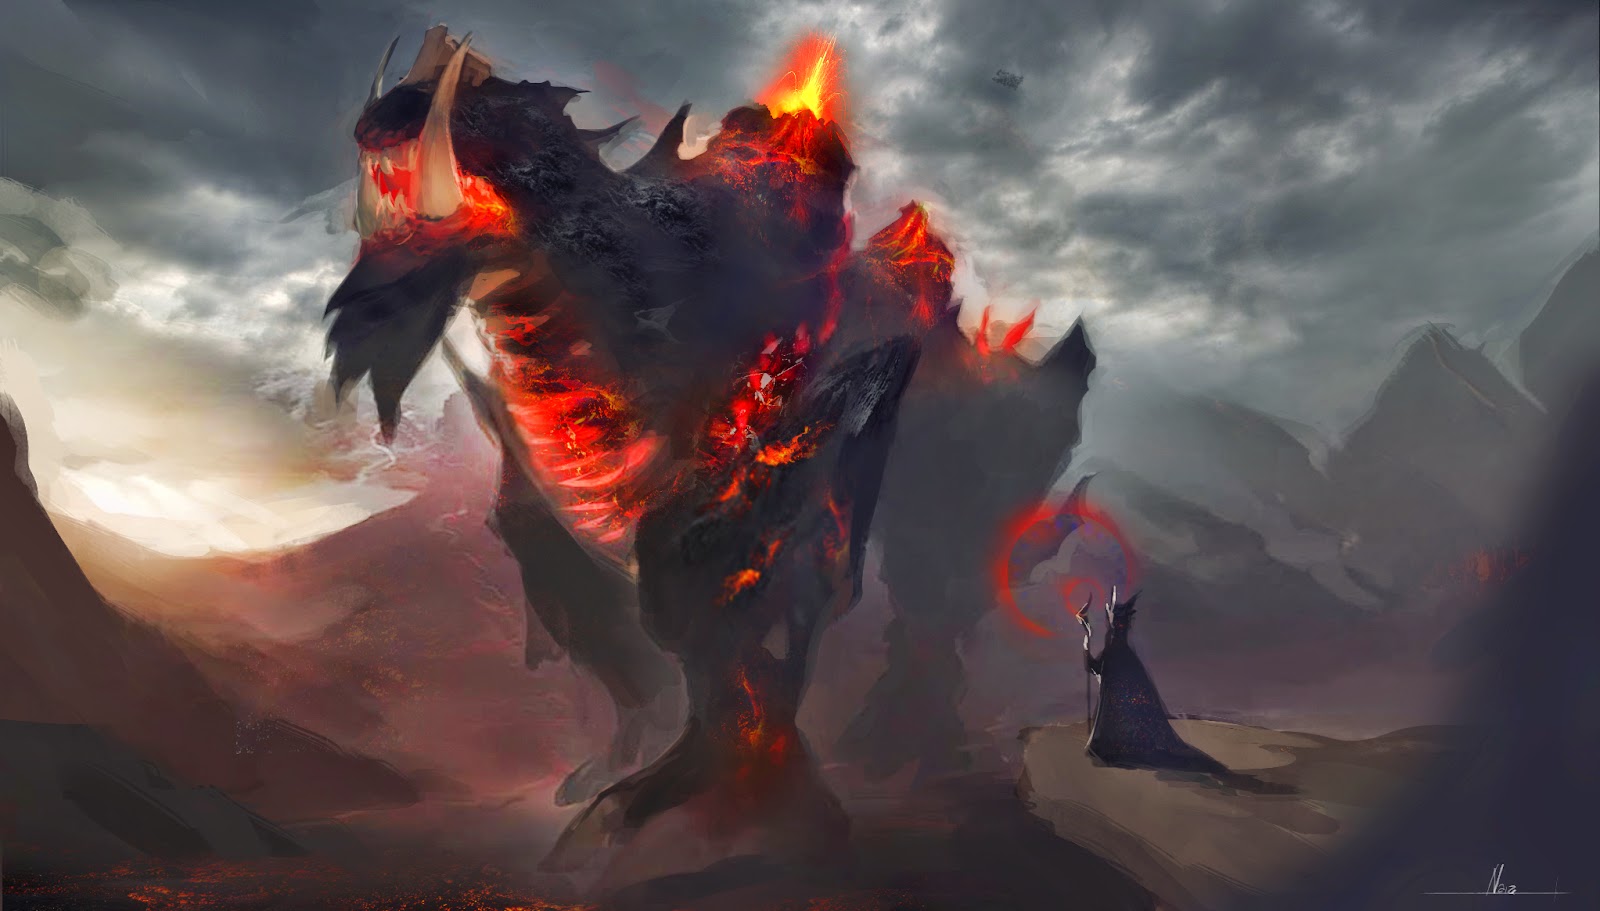
One of our assignments was to create a lava creature.
MoodBoard:

Due To my injured hand I decided to just start painting without any sketching, which isnt the best idea.
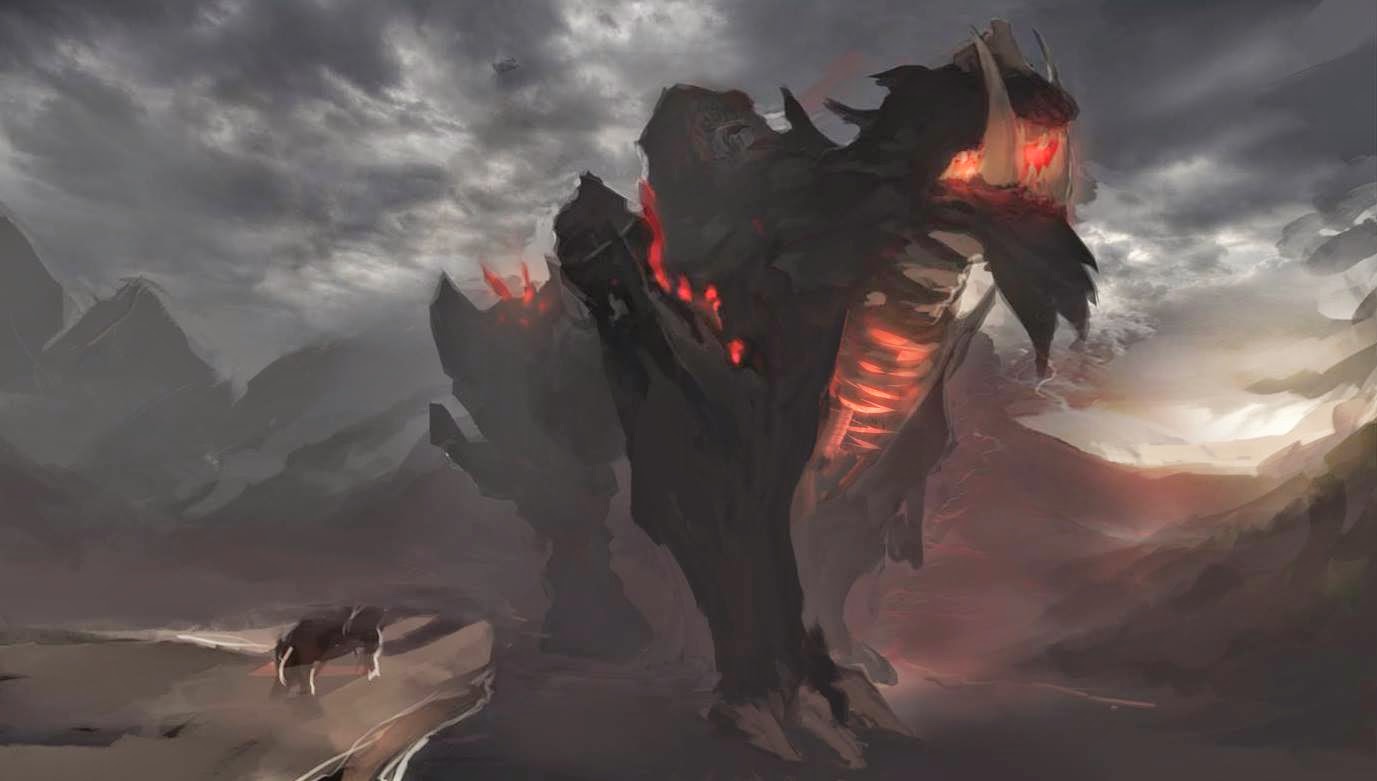
 I came up with an idea of a really huge monster with vulcanos on his back. I didnt only focus on the design but also tried creating nice environment. Since he's really big, he starts dissapearing in smoke and fog to make him look even bigger. I wanted to show his "majesticness" instead of him attacking. I tried creating this mood with softer colours and light comming from the side rather than front. After painting more, this is my final result.
 I made the colours more saturated and added texture. Im not satisfied with the way it doesnt blend in with the rest and stands out too much. I tried creating central composition but I dont think I did that well. The whole front till back plane is confusing. The distance between monsters feet and the "summoner" isnt obvious enough. I know what I need to work on nowto make my future paintings better.
MoodBoard:

Due To my injured hand I decided to just start painting without any sketching, which isnt the best idea.
 I came up with an idea of a really huge monster with vulcanos on his back. I didnt only focus on the design but also tried creating nice environment. Since he's really big, he starts dissapearing in smoke and fog to make him look even bigger. I wanted to show his "majesticness" instead of him attacking. I tried creating this mood with softer colours and light comming from the side rather than front. After painting more, this is my final result.
 I made the colours more saturated and added texture. Im not satisfied with the way it doesnt blend in with the rest and stands out too much. I tried creating central composition but I dont think I did that well. The whole front till back plane is confusing. The distance between monsters feet and the "summoner" isnt obvious enough. I know what I need to work on nowto make my future paintings better.
 Monday, 23 March 2015
Second scene
I started working on second scene which is way darker and unfriendlier. I made a sky box and found out how to create fog to make it look darker.
Also created a basic attack prefab with particles.
Also created a basic attack prefab with particles.
Frog assignment
This weeks task was to design a frog character. I dont usually draw animals so this was quite different. I love asian culture so I decided to mix both together.
as always, moodboard:
I made quite few sketches that were horrible so I decided to delete them.
After a while of painting , this is my final painting:
as always, moodboard:
I made quite few sketches that were horrible so I decided to delete them.
After a while of painting , this is my final painting:
I think I could make it way more froggy like. I was playing with depth of field and blurred out the parts that are further away. Its still very messy and sketchy but I kind of like the feel to it. I was more focused on the proportions and the whole feel to it, then go into details.
Instead of blurring everything I decided to go for a more painterly technique and more saturated colours and I'm pleased with the result. I used a simple texture on her dress and tried different lighting.
Friday, 13 March 2015
Sink - scene
I started creating the scene in Unity. I made prefabs and started building everything togwether. Im quite pleased with the result.
T-rex
For the past few weeks we had to model a T-rex. We got a reference in our background and box modeled it. After that we had to cut it and unwrap it and last thing to do was to texture it in mudbox.
I was experimenting and was trying to make him look bit more fantasy like.
I was experimenting and was trying to make him look bit more fantasy like.
Wednesday, 11 March 2015
SINK - texturing
My task for our projects this week was to layout UVs and texture all of our objects.
I started with our cave. I never imagined that texturing a big model will be such a problem. I tried unwrap it in so many ways but at the end all I got were big streched blurry dots.
After trying to get help from Phil, I managed to get a Vertex painter. You can simply select different textures and blend them together in unity. Because unwrapping our model was hard, the texture is a bit broken, but we will fix it with other objects.
I got different rock objects from Connor and I had quite difficult problems with it. They had random edge loops in them and after deleting the edge loops, the vertex points decided to stay there. It took me quite a while to make it okay. Needless to say that I had major problems with unwrapping. At the end I decided to go with tiling texture.
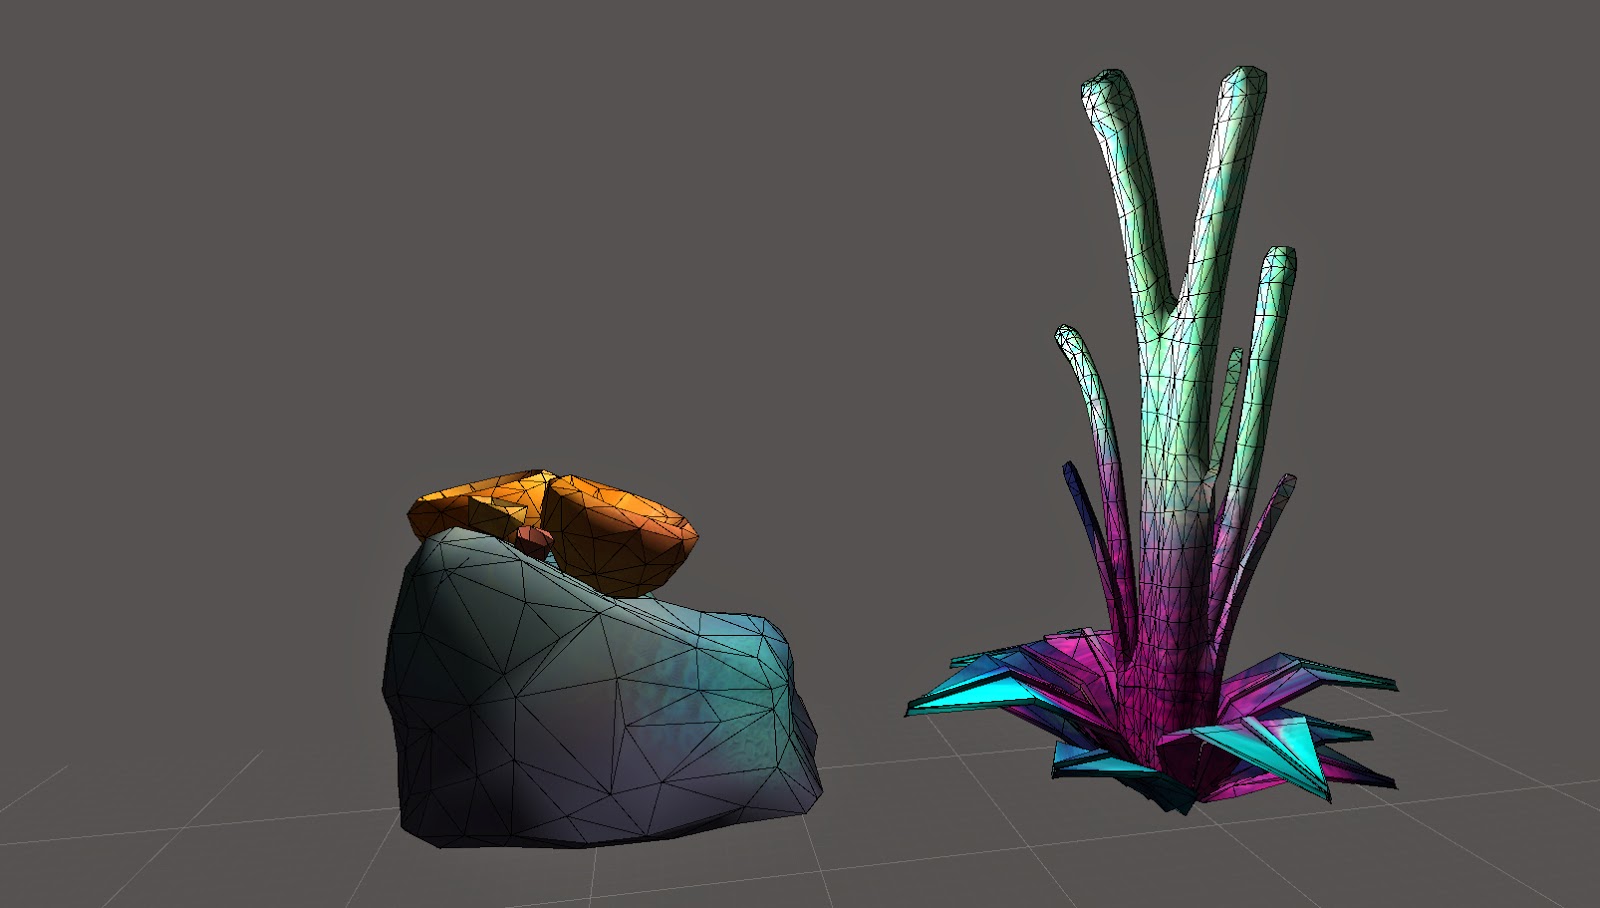
I also got two plant models from John which I UV mapped and textured, and then imported to unity.

More problems occured when I was trying to UV map my own model. I had to download RoadKill and learn the software. It is really easy and friendly to use. After that I paintedthe texture with mudbox and photoshop.
I started with our cave. I never imagined that texturing a big model will be such a problem. I tried unwrap it in so many ways but at the end all I got were big streched blurry dots.
After trying to get help from Phil, I managed to get a Vertex painter. You can simply select different textures and blend them together in unity. Because unwrapping our model was hard, the texture is a bit broken, but we will fix it with other objects.
I got different rock objects from Connor and I had quite difficult problems with it. They had random edge loops in them and after deleting the edge loops, the vertex points decided to stay there. It took me quite a while to make it okay. Needless to say that I had major problems with unwrapping. At the end I decided to go with tiling texture.
I also got two plant models from John which I UV mapped and textured, and then imported to unity.

More problems occured when I was trying to UV map my own model. I had to download RoadKill and learn the software. It is really easy and friendly to use. After that I paintedthe texture with mudbox and photoshop.
Next step will be texturing remaining objects and placing them in our scene.
Friday, 6 March 2015
Texturing
This weeks lesson was focused around texturing. We got an alley created in Maya that we had to texture and create textures in Photoshop. It was really fun and it tought me quite a lot. This is my result :
Steampunk
This weeks homework was a steampunk character. Due to my hand injury I delayed it and started working on the day before we had to hand it in. I didnt finish it but I will hopefully in the upcomming days.
I started of with reference and created a moodboard as usually
I started off with an sketch. My idea was to create a gunner with a mask.
I didnt like the idea, so I changed the outfit and was thinking more of her as some mysterious alchemyst or something like that.
I started painting it out. I couldnt finish and there are a lot of mistakes. Her body is twisting and her gesture is off. She doesnt feel like shes standing on the floor and the message of what she is isnt displayed a lot. It is also missing a lot of steampunk elements.
Subscribe to:
Comments (Atom)


.jpg)

